Simple Sewing: 10 Beginner-Friendly DIY Clothing Projects
Are you tired of spending hundreds of dollars on clothes that never quite fit right? Do you have a closet full of boring basics that leave you feeling uninspired? Well, fear not my fellow fashionistas, because we’ve got the ultimate solution for you – simple sewing projects that even a beginner can tackle! So grab your needle and thread, and get ready to unleash your inner fashion designer with these 10 DIY clothing projects that are sure to make you the envy of all your friends (and maybe even a few enemies too).
Choosing the Right Fabric for Your Project
When it comes to , the options can be overwhelming. But fear not, dear reader, for I am here to guide you through the treacherous terrain of textiles!
First and foremost, you must consider the purpose of your project. Are you making a cozy blanket to snuggle up with on cold winter nights? Or perhaps a stylish dress to dazzle at your next soirée? Different fabrics are suited to different purposes, so choose wisely!
Next, think about the feel of the fabric. Do you want something soft and silky, like a kitten’s fur? Or maybe something rough and sturdy, like a pirate’s beard? Touch each fabric with your fingertips and let your senses guide you to the perfect choice.
And let’s not forget about color and pattern! Do you want a bold, eye-catching print that screams “LOOK AT ME!”? Or perhaps a subtle, understated hue that whispers “I’m chic and sophisticated”? The world is your oyster when it comes to fabric choices, so don’t be afraid to make a statement!
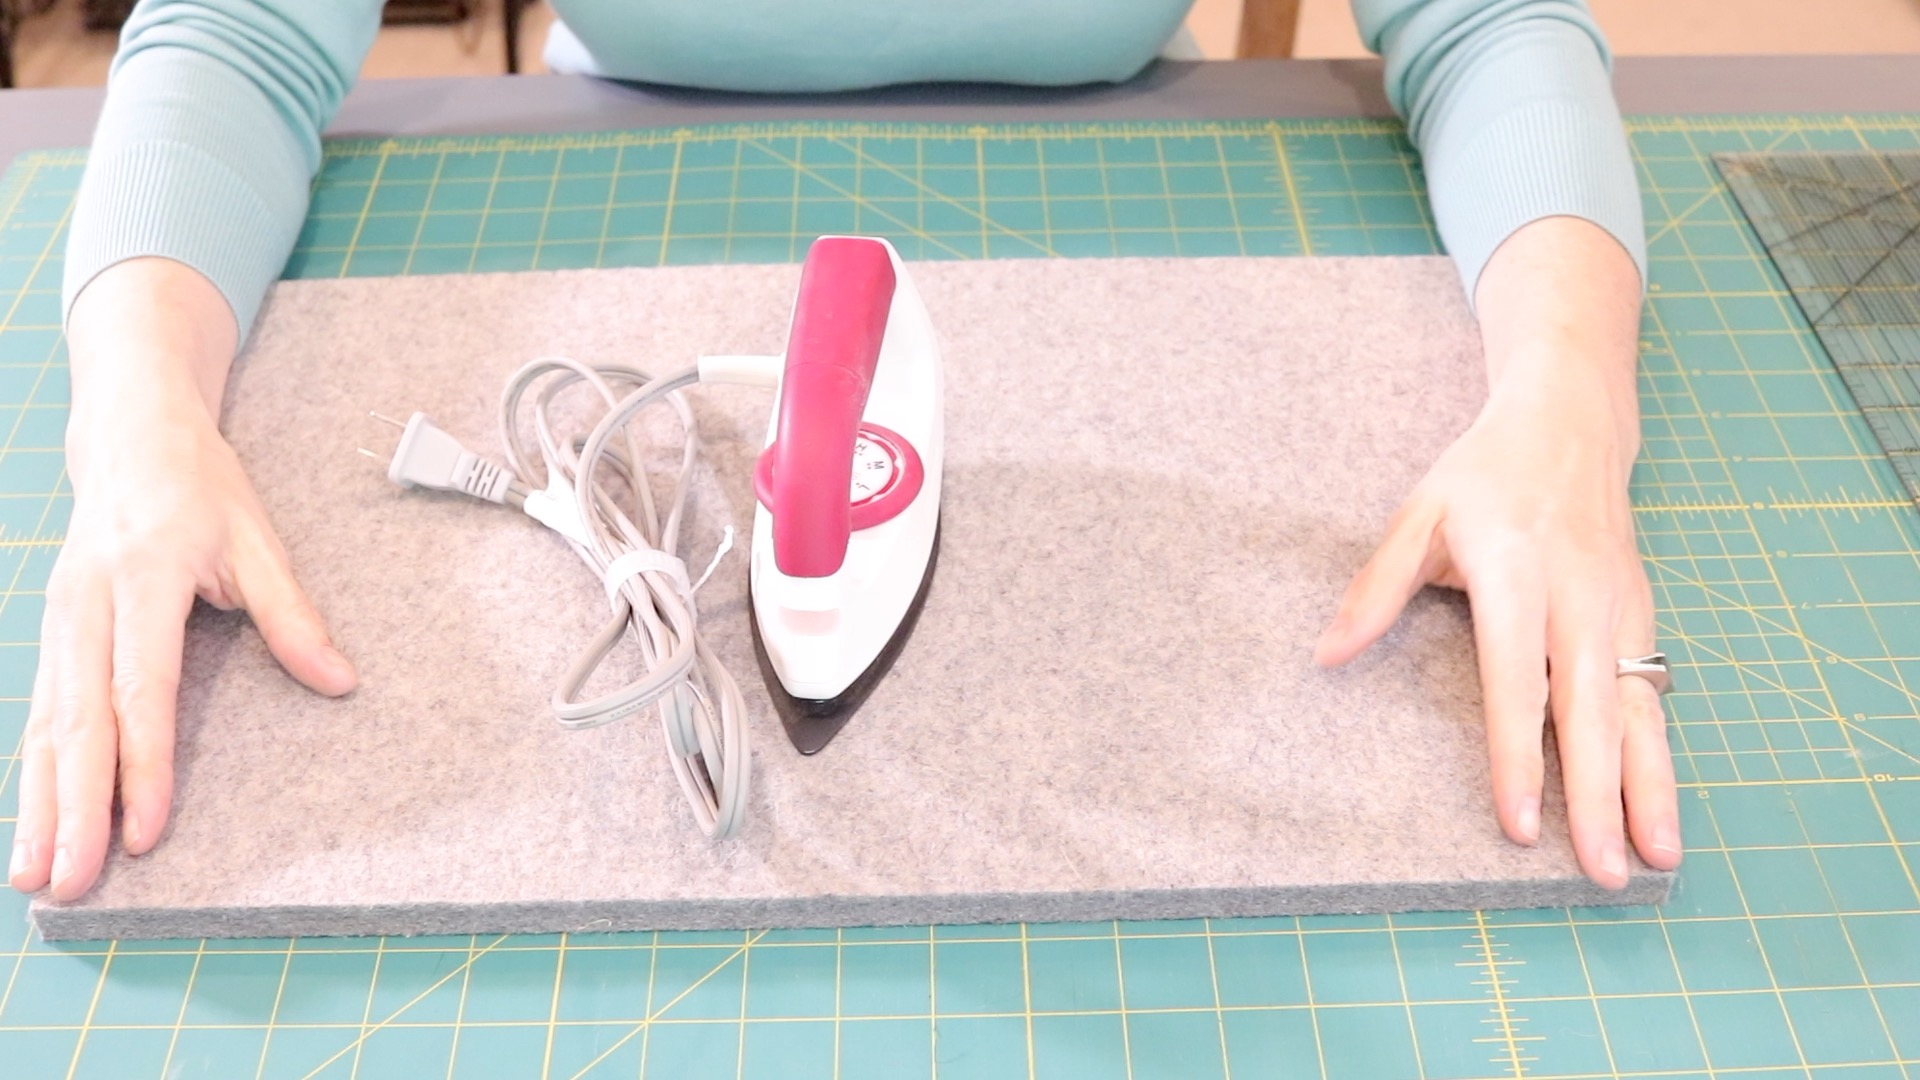
Essential Tools and Supplies for Beginner Sewers
So, you’ve decided to dip your toes into the world of sewing, huh? Well, buckle up because you’re in for a wild ride! But fear not, my beginner sewers, for I am here to guide you through the essential tools and supplies you’ll need to get started on your sewing journey.
First things first, you’ll need a trusty sewing machine. Now I know what you’re thinking – “But won’t hand-sewing be just as fun?” Sure, if you enjoy spending hours on end meticulously stitching every seam. Let’s be real, we’re not all patient saints here. Get yourself a sewing machine and save yourself the headache.
Next up, you’ll need some basic sewing supplies to accompany your shiny new sewing machine. Stock up on things like sewing needles, scissors, pins, and thread. Trust me, you don’t want to be in the middle of a sewing project only to realize you’re missing a crucial tool. That’ll just lead to unnecessary stress and a lot of tears – and not the cute, Pinterest-worthy kind.
Finally, don’t forget about fabric! You can’t sew without fabric, unless you’re into making invisible garments – in which case, you do you. Hit up your local fabric store and browse through the endless aisles of colorful, patterned, and textured fabrics just waiting to be turned into your next masterpiece. And remember, the possibilities are endless when it comes to sewing – so don’t be afraid to get creative!
Understanding Basic Sewing Techniques
So, you’ve decided to embark on the whimsical and sometimes frustrating journey of sewing. Fear not, brave soul, for with a few basic sewing techniques under your belt, you’ll be well on your way to creating your own homemade masterpiece!
First things first, let’s talk about the importance of threading your needle. Ah yes, the dreaded task that can sometimes feel like trying to put a square peg in a round hole. But fear not, with a steady hand and the patience of a saint, you’ll soon be threading that needle like a pro. Remember, practice makes perfect!
Next up, we have the ever-important backstitch. This simple yet crucial technique will ensure that your stitches stay put and don’t unravel faster than a ball of yarn in the paws of a mischievous kitten. Master the backstitch, and you’re well on your way to becoming a sewing wizard!
And let’s not forget about the magical world of hemming. Whether you’re hemming a pair of pants or a fancy frock, mastering this technique will give your creations that polished and professional look. Say goodbye to frayed edges and hello to perfectly hemmed garments that would make even the most seasoned seamstress proud!

Step-by-Step Guide to Sewing A-Line Skirt
First things first, you’ll want to gather all your supplies. You’ll need fabric, matching thread, a sewing machine (or a needle and thread if you’re feeling extra patient), scissors, pins, and a ruler. And of course, don’t forget a tall glass of wine to keep you company during this sewing adventure!
Next, measure and cut your fabric. Remember, an A-line skirt is all about those flattering curves, so make sure to measure your waist and hips accurately. Don’t worry, a little bit of extra fabric is always better than cutting it too short and having to wear a mini skirt unintentionally. Cut your fabric into two pieces, one for the front and one for the back.
Now it’s time to sew those pieces together. With right sides facing each other, sew the side seams of your skirt using a straight stitch. Remember to backstitch at the beginning and end to secure your seams. If you’re feeling fancy, you can add pockets too! Just make sure they’re big enough to hold all your essentials, like your phone and snacks.
Finally, hem the bottom of your skirt and add a waistband. You can either fold over the fabric and sew it down for a clean finish, or attach a separate waistband for a more polished look. And voila, your A-line skirt is complete! Throw on your new creation, twirl around the room, and bask in the glory of your sewing skills. Who needs a store-bought skirt when you can make your own fabulous fashion statement!

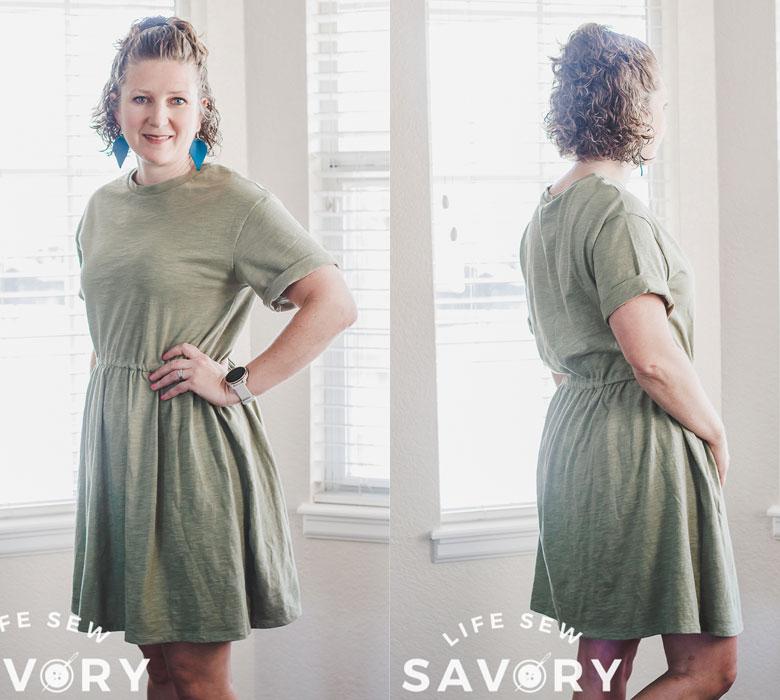
Creating Your Own DIY Wrap Dress
So, you want to create your own DIY wrap dress, huh? Well, get ready to unleash your inner fashion designer and show the world what you’re made of! Follow these simple steps and you’ll be strutting your stuff in your very own handmade masterpiece in no time.
First things first, you’ll need to gather your materials. Head to your local fabric store and stock up on some fabulous fabric in a print that speaks to your soul. Don’t forget to grab some matching thread, a sewing machine, and a little bit of patience (trust me, you’ll need it).
Next, it’s time to get cutting and sewing. Follow these basic steps to create the perfect wrap dress:
- Measure and cut your fabric to fit your body like a glove (or in my case, a slightly ill-fitting glove).
- Sew the side seams and shoulder seams together, making sure to leave room for your arms and head (breathing is important, folks).
- Add a waist tie or button closure to create that classic wrap dress look (bonus points if you can tie it without getting yourself in a knot).
Voila! You’ve just created your very own DIY wrap dress. Now all that’s left to do is admire your handiwork, strike a pose, and prepare yourself for the flood of compliments headed your way. Who needs designer labels when you can rock a one-of-a-kind creation made with your own two hands?
Upcycling Old T-Shirts into Trendy Tank Tops
So you’ve got a drawer full of old t-shirts that you haven’t worn in ages, but you just can’t bear to part with them. Well, fear not fashionista! With a little creativity and some scissors, you can easily upcycle those old tees into trendy tank tops that will have all your friends green with envy.
First things first, you’ll need to gather your materials. Grab those forgotten t-shirts, a pair of sharp scissors, and maybe even some fabric paint or patches if you’re feeling extra crafty. Now, let’s get to work turning those drab shirts into fab tank tops!
Start by laying your t-shirt flat on a table. Use your scissors to carefully cut off the sleeves, making sure to leave enough room for your arms to move comfortably. Next, cut along the neckline to create a stylish scoop neck or v-neck design. Feel free to get creative with the cuts – you can add fringe, knots, or even lace trim for extra pizzazz!
Once you’ve finished cutting, try on your newly transformed tank top and strut your stuff! Pair it with some high-waisted shorts or jeans, add a statement necklace, and voila – you’ve taken your old t-shirts from drab to fab in no time. Who knew sustainable fashion could be so chic?
FAQs
Is sewing really that hard? I’ve never tried it before.
Absolutely not! Sewing can be a lot of fun, and with these beginner-friendly projects, you’ll be surprised at how easy it can be to create your own clothes.
What if I don’t have a sewing machine?
No problem! Many of these projects can be done by hand with just a needle and thread. And if you do decide to invest in a sewing machine, there are plenty of affordable options out there.
I’m worried about messing up. How do I prevent mistakes?
Don’t stress! Take your time, follow the instructions carefully, and practice on some scrap fabric before diving into your actual project. And remember, even if you make a mistake, it’s all part of the learning process.
Do I need to know how to read a sewing pattern?
Not necessarily. While some projects may require you to work from a pattern, many of the projects in this article are simple enough that you can follow along with just the step-by-step instructions provided.
How can I make sure my clothes look professional?
The key to professional-looking handmade clothes is in the finishing touches. Take your time with things like hems, seams, and pressing your fabric, and your clothes will look like they came straight from a boutique.
Where can I find affordable materials for these projects?
Thrift stores, fabric shops, and even online retailers like Amazon and Etsy are great places to find affordable fabrics, notions, and sewing supplies. And don’t forget to look for sales and coupons to save even more money.
What if I want to customize the projects to fit my style?
Go for it! Feel free to experiment with different fabrics, colors, and embellishments to make these projects truly your own. After all, sewing is all about creativity and self-expression.
How long does it typically take to complete one of these projects?
The time it takes to complete a project can vary depending on your skill level and the complexity of the project. Some projects may only take a few hours, while others may take a weekend or more. Just remember to enjoy the process and have fun!
So, what are you waiting for? Grab your needles and thread, and get sewing!
Whether you’re a total beginner or an experienced sewist looking for some fun and easy projects, these DIY clothing projects are sure to keep you entertained and stylish. From cozy pajama pants to trendy crop tops, there’s something for everyone to enjoy. So put on your favorite playlist, pour yourself a cup of tea, and get ready to show off your amazing new creations. Happy sewing!