Crafty Creations: Rainy Day Projects for Everyone
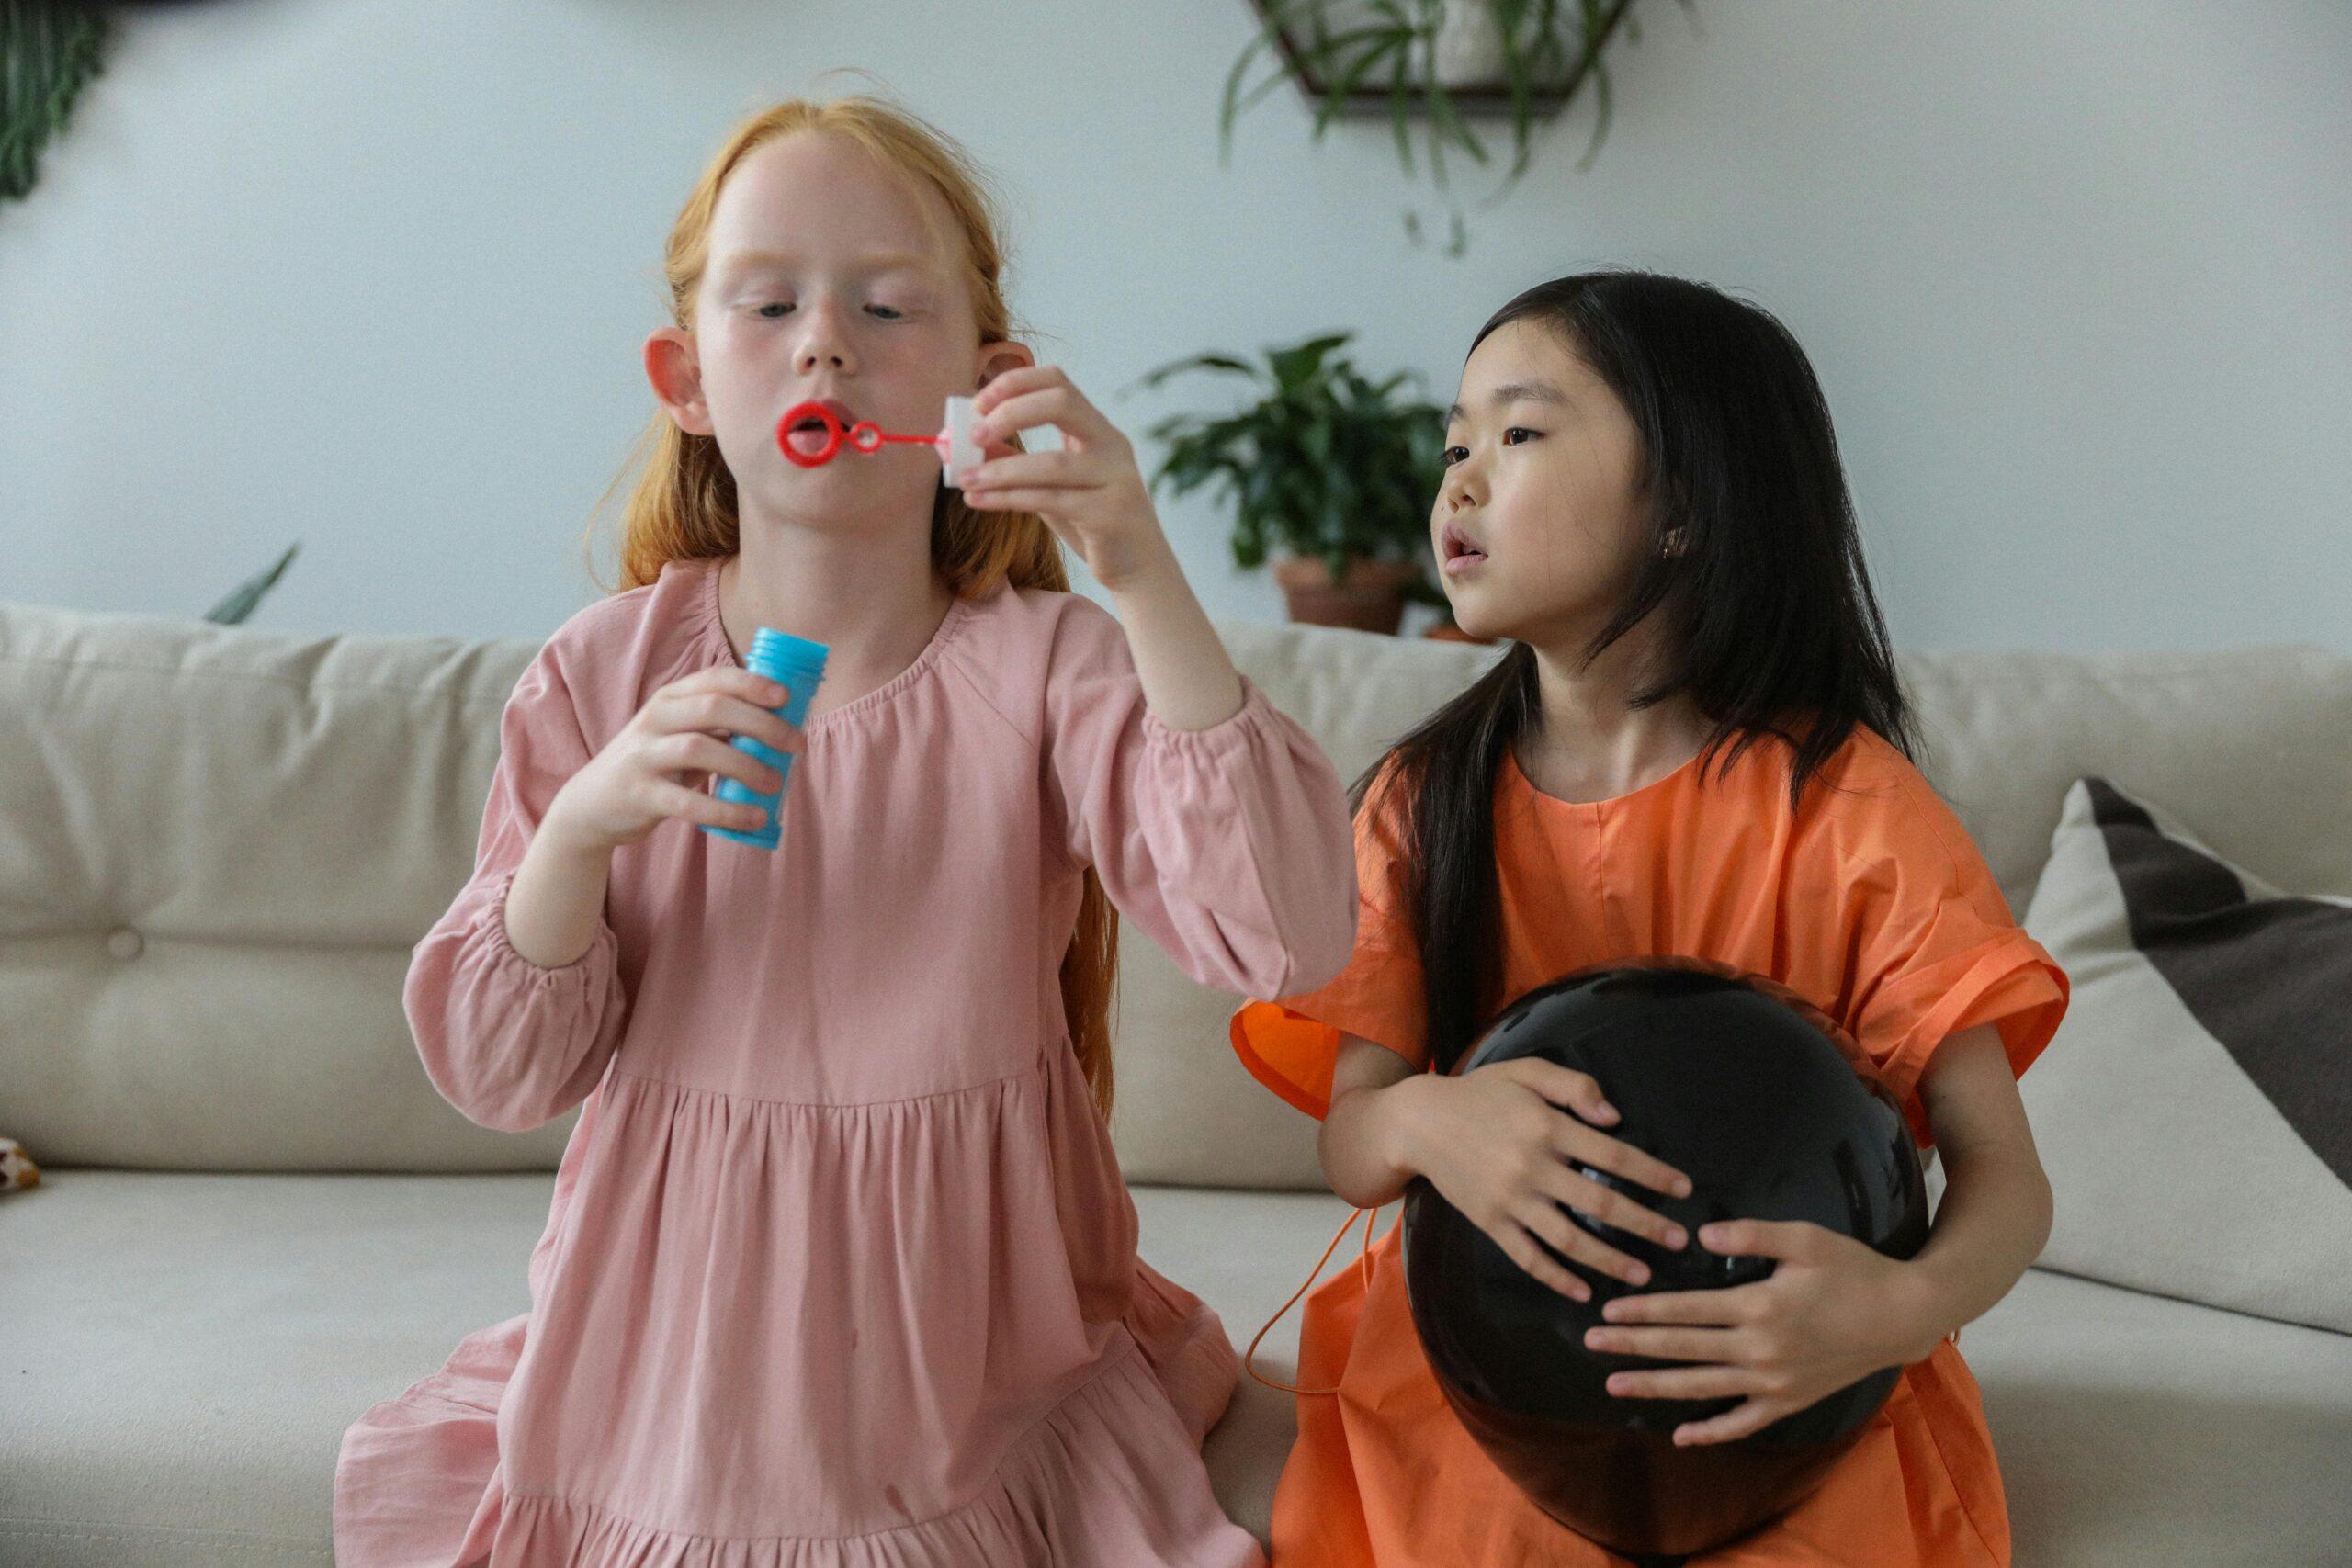
Rain on your parade? More like rain on your crafty parade! Don’t let the gloomy weather dampen your spirits – grab your supplies and get ready to make some magic with these quirky and inventive rainy day projects that are sure to brighten up even the dreariest of days. From DIY sock puppets to upcycled planters, there’s something for everyone to enjoy (and maybe even laugh at) in this guide to crafting up a storm indoors. So grab your glue gun and let’s get crafty!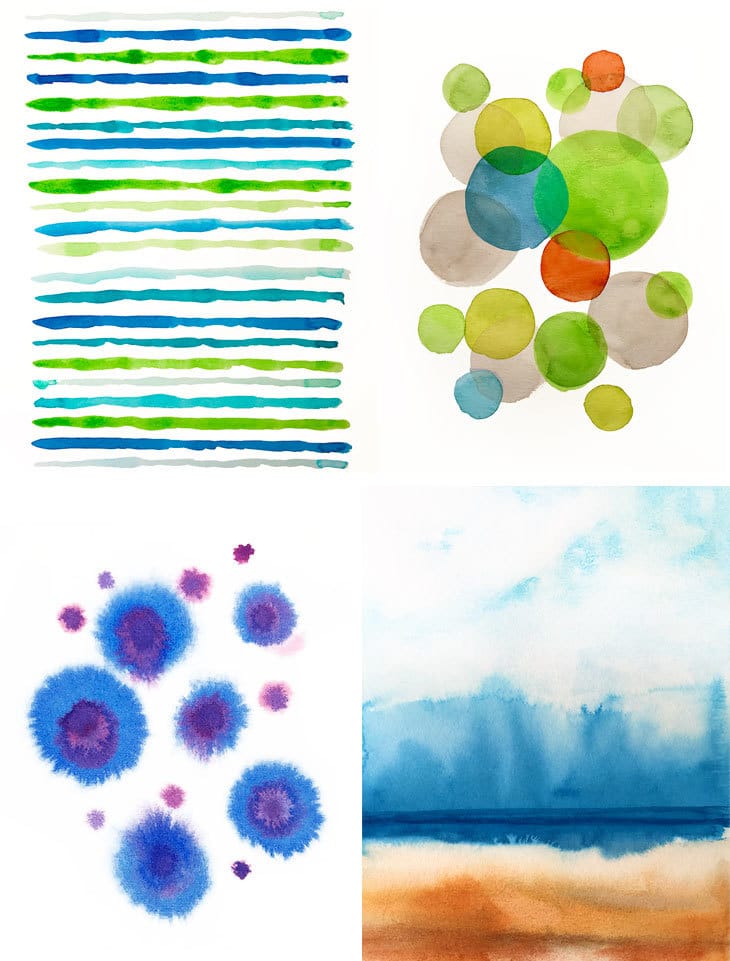
Easy DIY Painting Projects to Brighten Up a Gloomy Day
Looking to add some color and cheer to a dreary day? Look no further than these easy DIY painting projects that are sure to brighten up your space!
Grab your paintbrushes, gather your supplies, and get ready to unleash your inner artist with these fun and simple projects:
- **Abstract Canvas Art:** Let your creativity run wild with abstract canvas art. Simply pick your favorite colors, grab a canvas, and start painting in bold, free-flowing strokes. Don’t worry about making mistakes – the beauty of abstract art is in its imperfections!
- **Mason Jar Vases:** Brighten up your home with a pop of color by painting mason jar vases. Choose a few different colors and use a sponge or brush to create a unique design on each jar. Fill them with fresh flowers or plants for an instant pick-me-up.
- **Rainbow Wall Mural:** If you’re feeling ambitious, why not try painting a rainbow wall mural? All you need is some painters tape, a variety of colorful paints, and a steady hand. Create a rainbow design on your wall and watch as it instantly transforms your space into a cheerful oasis.
Creative Ways to Upcycle Household Items into Unique Decor Pieces
Do you have a bunch of old household items lying around just collecting dust? Don’t toss them out just yet! There are plenty of creative ways to upcycle these items into unique decor pieces that will have all your friends asking, ”Where did you get that?!”
Why spend money on expensive decor when you can turn your trash into treasure? With a little bit of imagination and a lot of hot glue, you can transform ordinary items into one-of-a-kind masterpieces that will add a touch of whimsy to your home.
From turning old mason jars into trendy vases to repurposing an old ladder into a bookshelf, the possibilities are endless when it comes to upcycling household items. Embrace your inner DIY guru and get ready to unleash your creativity!
So next time you’re about to throw something away, think twice and consider how you can give it a second life as a piece of art. Your wallet and the environment will thank you for it. Happy upcycling!

Step-by-Step Guide for Making Homemade Candles with Essential Oils
Ready to light up your life with some aromatic and soothing homemade candles? Follow these step-by-step instructions and you’ll be a candle-making pro in no time!
First things first, gather all your supplies. You’ll need wax, wicks, a double boiler, essential oils (for that extra oomph), and some cute candle molds. Don’t forget a stirring spoon and some patience - candle making is an art, not a race!
Next, melt your wax in the double boiler. Keep a close eye on it – we’re not making burnt offerings here! Once the wax is melted, add a few drops of your favorite essential oils. Lavender for relaxation, peppermint for a pick-me-up, or eucalyptus for a breath of fresh air. The possibilities are endless!
Pour the wax into your molds, making sure to center your wicks for that perfect burn. Let your candles cool and solidify - this is where the waiting game comes into play. Once they’re set, trim your wicks and voila! You’ve just created your very own mood-setting, stress-busting, ambiance-boosting masterpiece. Give yourself a pat on the back and get ready to bask in the glow of your homemade creations!

Fun and Functional Sewing Projects for All Skill Levels
Whether you’re a beginner or a seasoned pro, there are endless sewing projects that can add a touch of fun and functionality to your life. From practical items like tote bags and pot holders to whimsical creations like stuffed animals and decorative pillows, there’s something for everyone to enjoy!
For those just starting out, consider trying your hand at making simple items like a zippered pouch or a basic apron. These projects are great for honing your skills and building confidence while still creating something useful.
If you’re ready to take your sewing to the next level, challenge yourself with more intricate projects like a quilted table runner or a custom-fit garment. These projects will push your creativity and sewing abilities to new heights, resulting in a finished product that you can be proud of.
No matter your skill level, sewing can be a relaxing and rewarding hobby that allows you to express your creativity and make something truly unique. So grab your favorite fabric, thread, and sewing machine, and start stitching up some fun and functional projects today!
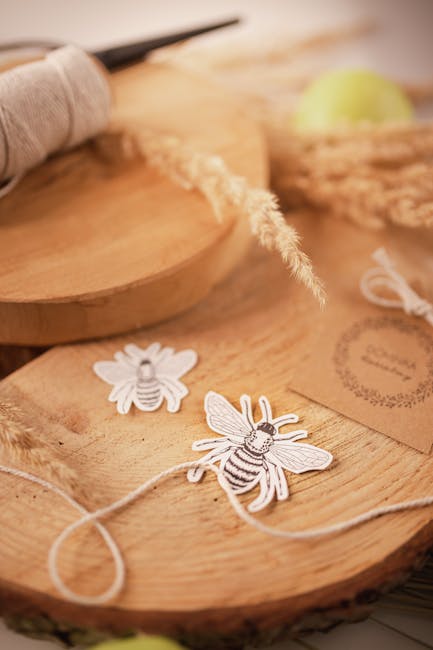
How to Create Customized Handmade Stationery for Personalized Gifts
So, you want to impress your friends and loved ones with personalized gifts that are as unique as they are? Why not try your hand at creating customized handmade stationery! Not only is it a thoughtful gesture, but it also shows that you put time and effort into making something special just for them.
First things first, you’ll need to gather your supplies. Stock up on quality paper, colorful markers, decorative stamps, and any other embellishments you think will add a personal touch to your stationery. And don’t forget the glitter – because who doesn’t love a little sparkle?
Next, let your creativity run wild! Use your imagination to come up with fun designs, witty quotes, or even inside jokes that only you and the recipient would understand. The sky’s the limit when it comes to creating customized stationery that truly reflects the personality of the person you’re gifting it to.
And finally, don’t be afraid to experiment! Mix and match different patterns, try out new techniques, and don’t worry about making mistakes – after all, it’s the thought and effort that count. So, grab your supplies, channel your inner Picasso, and get ready to create one-of-a-kind handmade stationery that will leave your loved ones speechless!
Exploring the Art of Macrame: Tips and Tricks for Beautiful Wall Hangings
Have you ever wanted to spruce up your space with a trendy macrame wall hanging? Look no further! We’ve got all the tips and tricks you need to create a stunning piece of art that will have all your friends green with envy.
First things first, let’s talk materials. When it comes to macrame, rope is your best friend. Opt for natural fibers like cotton or jute for a super boho-chic vibe. And don’t forget to add some fun embellishments like beads or feathers for that extra pop of pizzazz.
Next up, let’s talk knots. The key to a beautiful macrame wall hanging is mastering a few basic knots. Try your hand at the square knot, the half hitch knot, and the lark’s head knot for some seriously stunning results. And if all else fails, just remember: when in doubt, knot it out!
Finally, don’t be afraid to get creative with your design. Mix and match different knot patterns, experiment with different lengths of rope, and don’t be afraid to think outside the box. After all, macrame is all about expressing your unique style and personality. So go ahead, let your inner artist shine!
Learn the Basics of Crochet with These Simple and Stylish Patterns
If you’ve ever wanted to learn the basics of crochet but were too intimidated by all those intricate patterns, fear not! We have put together a collection of simple and stylish patterns that are perfect for beginners. With just a little bit of practice, you’ll be whipping up beautiful crochet creations in no time.
One of the easiest patterns to start with is the classic granny square. Despite its name, there’s nothing old-fashioned about this versatile little square. You can use granny squares to create everything from blankets to scarves to pillows. Plus, they’re a great way to use up any leftover yarn you have lying around.
Another beginner-friendly pattern you’ll love is the single crochet stitch. It’s the most basic stitch in crochet, but don’t let that fool you – there are endless ways to incorporate it into your projects. Try making a cozy dishcloth or a cute coffee cup cozy to get started.
Looking to add a little flair to your crochet repertoire? Try your hand at the half-double crochet stitch. It’s slightly taller than the single crochet stitch, which means you can achieve a looser, more open weave. Use it to create a trendy beanie or a boho-chic market tote – the possibilities are endless!
FAQs
What supplies do I need for these rainy day projects?
Well, my crafty friend, you’ll need the basics like scissors, glue, markers, and paper. But don’t forget to get creative with some fun extras like yarn, beads, and googly eyes!
Are these projects suitable for kids?
Absolutely! These rainy day projects are perfect for kids of all ages. Just make sure to supervise the little ones with any sharp objects or hot glue guns.
I’m not very crafty, can I still enjoy these projects?
Of course! These projects are designed for crafters of all skill levels. Just have fun and don’t worry about making things look perfect. Remember, imperfection is the new perfection!
How long do these projects usually take to complete?
Well, that all depends on the project and how fast you work. Some projects can be finished in just a few minutes, while others might take a couple hours. Just take your time and enjoy the process!
What if I don’t have all the supplies listed for a project?
No worries! Get creative and substitute with whatever you have on hand. Don’t have googly eyes? Use buttons or sequins instead. The most important thing is to have fun and let your imagination run wild!
Until next time, get crafting!
So there you have it, folks! Rainy days don’t have to be dreary when you have some crafty projects up your sleeve. Whether you’re a seasoned crafter or just looking for a way to pass the time, there’s a DIY project out there for everyone. So grab your supplies, get creative, and let your imagination run wild!
Remember, the next time the clouds roll in, don’t fret. Just grab your glue gun, paintbrush, or knitting needles, and get to work! Who knows, you may just discover a hidden talent or create something truly magnificent. Happy crafting, and see you next time!


