Fun and Creative DIY Projects for Kids
Attention all parents, guardians, and brave souls tasked with entertaining children! Are you tired of the same old routine of coloring books and board games? Are you ready to shake things up and unleash your inner creative genius? Well, fear not, because we have a lineup of DIY projects that will have your little ones buzzing with excitement and you feeling like a crafting superhero. Get ready to roll up your sleeves, break out the glitter glue, and prepare for a world of endless possibilities with these fun and funky projects that will make you the coolest kid on the block. Let the crafting chaos begin!
Easy and Engaging Paper Plate Crafts
Looking for fun and simple crafts to do with your kids? Paper plate crafts are a fantastic option! They are easy, inexpensive, and oh so engaging. Plus, you can find paper plates at pretty much any store, so you won’t have to hunt down any rare materials.
With paper plates, the possibilities are endless. You can make everything from animals and flowers to vehicles and holiday decorations. Let your imagination run wild and see what unique creations you can come up with!
Not sure where to start? Here are a few ideas to get you inspired:
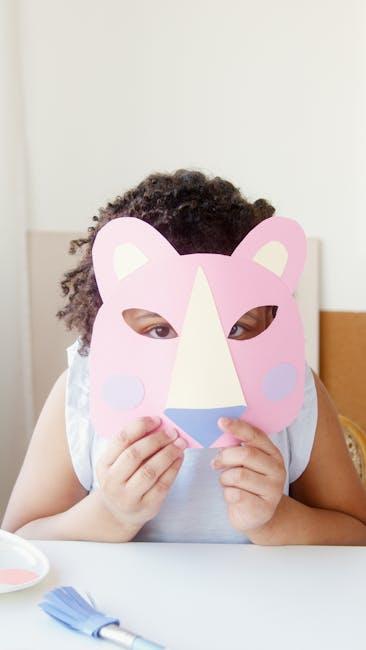
- Make adorable animal masks by cutting out eye holes and adding ears, noses, and whiskers.
- Create a colorful sun catcher by covering a paper plate in tissue paper and hanging it in a sunny window.
- Build a 3D flower garden by cutting out petals and attaching them to the plate with brads.
So grab some paper plates, gather your little ones, and get ready for hours of crafting fun. Who knew a simple disposable plate could bring so much joy?

Colorful and Playful Homemade Playdough Recipes
Looking for a fun and creative activity to keep your little ones entertained? Why not try making your own homemade playdough! Not only is it easy and inexpensive, but it also allows you to customize the colors and scents to create a truly unique sensory experience for your kids.
Check out these colorful and playful playdough recipes that are sure to spark your child’s imagination:
- Rainbow Delight Playdough: Mix together equal parts of flour, salt, cream of tartar, and water. Divide the dough into six equal portions and dye each one a different color of the rainbow using food coloring. Your kids will love squishing and molding this vibrant playdough!
- Sparkle Sensation Playdough: Add a generous amount of glitter to your favorite playdough recipe for a touch of magic and sparkle. Your little ones will be mesmerized by the shimmering colors as they play and create with this glittery concoction.
- Fruity Fiesta Playdough: Infuse your playdough with fruity scents by adding a few drops of essential oils or extracts. Try scents like lemon, orange, or strawberry to create an enticing sensory experience that will have your kids begging for more playtime!
DIY Sensory Bottles for Hours of Entertainment
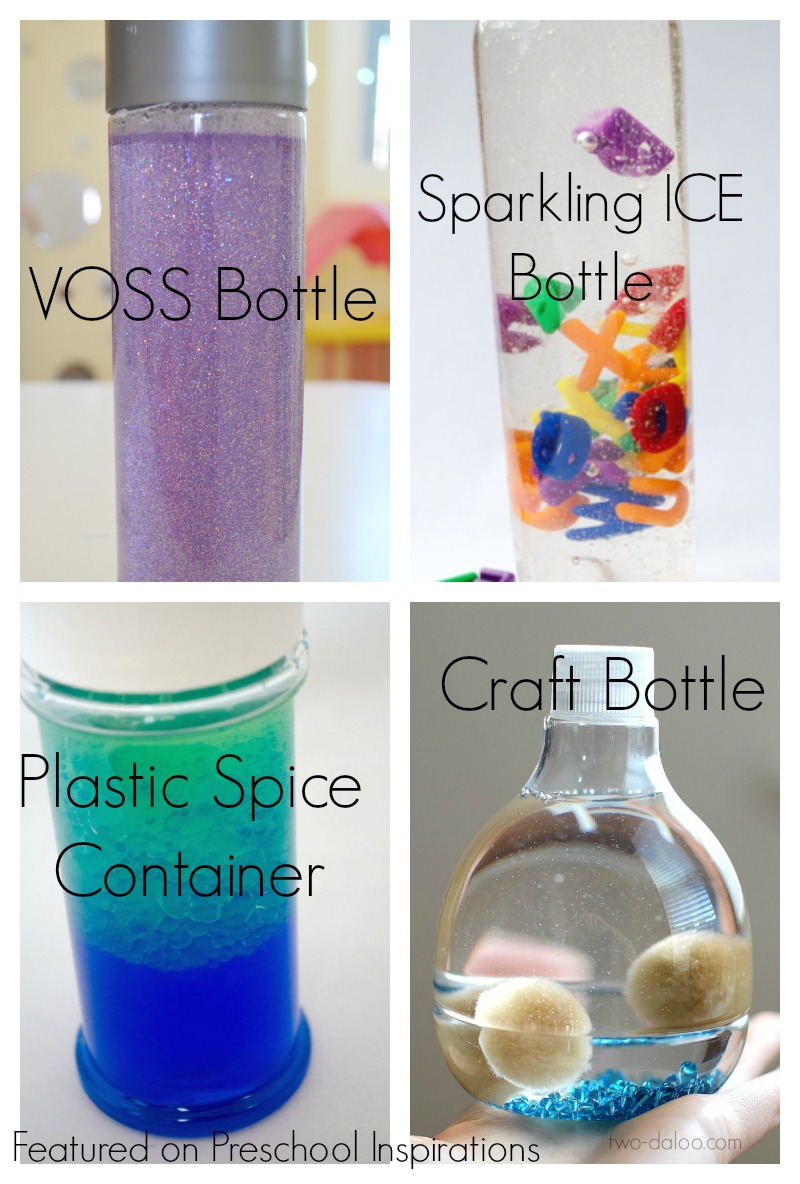
Looking for a fun and easy DIY project that will keep your little ones entertained for hours? Look no further than sensory bottles! These magical bottles are not only visually stimulating, but they also provide a soothing sensory experience that can help calm even the most hyperactive kiddos.
Here are some creative ideas to get you started on your sensory bottle-making journey:
- Glitter Galaxy Bottle: Fill a clear bottle with water, a few drops of food coloring, and lots of glitter. Shake it up and watch as your kids are mesmerized by the swirling colors and sparkles!
- Rainbow Memory Bottle: Layer different colors of water, baby oil, and small trinkets in a clear bottle to create a rainbow effect. Encourage your little ones to shake it up and try to find all the hidden treasures!
- Glow-in-the-Dark Bottle: Mix water with glow-in-the-dark paint and glitter in a clear bottle. Charge it up under a bright light and watch as it glows in the dark, providing a cool and calming sensory experience.
So grab some empty bottles, get creative with your fillings, and watch as your kids are entertained for hours on end with these DIY sensory bottles!
Creating Personalized T-Shirts with Fabric Paint
So you’ve decided to embark on the wonderful journey of ? Congratulations! You’re about to unleash your inner artist and show the world your unique style.
First things first, you’ll need to gather your supplies. Make sure you have quality fabric paint in a variety of colors, some paint brushes or sponges, and of course, a plain t-shirt to work your magic on. Don’t forget to lay down some newspaper or a drop cloth to protect your workspace – you don’t want your masterpiece ending up on the kitchen table!
Now comes the fun part – brainstorming your design! Whether you want to rock a bold graphic, a witty phrase, or a funky pattern, the possibilities are endless. Get creative and let your imagination run wild. Need some inspiration? Check out Pinterest or Instagram for some killer ideas.
Once you have your design in mind, it’s time to get to work. Grab your fabric paint, channel your inner Picasso, and start bringing your vision to life on that plain old t-shirt. Remember, there are no mistakes in art – only happy accidents. Embrace the imperfections and let your creativity shine!
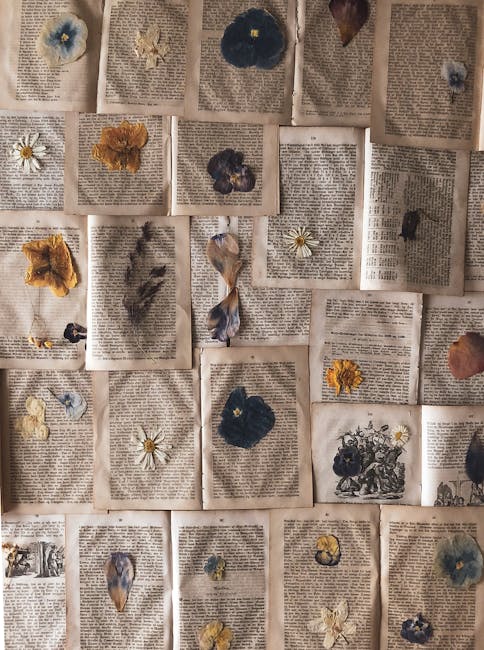
Fun and Educational Nature Collage Art Projects
Looking to combine your love for the great outdoors with your passion for art? Look no further than nature collage art projects! These fun and educational projects are a great way to get creative while learning about the beauty of the natural world around us.
So grab your scissors, glue, and a handful of leaves, twigs, and flowers, and let’s get started on creating some stunning nature-inspired artwork. Whether you’re a seasoned artist or a beginner, there’s a collage project out there for everyone to enjoy!
**Materials You’ll Need:**
– Scissors
– Glue
- Various leaves, twigs, flowers, and other natural materials
– Paper or canvas
– Markers or colored pencils (optional)
**Project Ideas:**
1. Leaf Rubbing Collage: Take a walk outside and collect a variety of leaves. Place them under a piece of paper and use a crayon to rub over the top, creating a unique leaf pattern. Cut out the shapes and arrange them on a piece of paper to create a beautiful collage.
2. Flower Petal Mosaic: Gather different colored flower petals and glue them onto a piece of paper to create a colorful mosaic. You can arrange them in a pattern or create a random design – the choice is yours!
3. Twig and Branch Sculpture: Collect twigs and branches of varying sizes and shapes to create a 3D sculpture. Use glue to secure them together and let your imagination run wild as you create your own nature-inspired masterpiece.
With these , you’ll not only have a blast getting creative, but you’ll also gain a newfound appreciation for the beauty of the world around you. So go ahead, let nature be your muse and get crafting!
Building Miniature Fairy Gardens with Recycled Materials
Looking to add a touch of whimsy to your garden without breaking the bank? Why not try ! Not only will you be reducing waste, but you’ll also be creating a magical oasis for fairies to frolic in.
Start by gathering materials from around your home - old tin cans, broken pots, even discarded toys can all find new life in a fairy garden. Once you have your materials, let your creativity run wild! Use the tin cans as tiny houses, the broken pots as magical ponds, and the toys as playful additions to your fairy realm.
Don’t forget to add some greenery to your fairy garden! Plant succulents, moss, or miniature flowers to create a lush landscape for your tiny visitors. And to truly make your fairy garden unique, add some special touches like tiny chairs, fences, or even a miniature swing set.
With a little imagination and a lot of love, you can create a whimsical world for fairies to enjoy, all while being kind to the environment. So gather your recycled materials, dust off your creative spirit, and get ready to build the miniature fairy garden of your dreams!
FAQs
What are some easy DIY projects that kids can do on their own?
Kids will have a blast making their own custom t-shirts with fabric markers, creating colorful friendship bracelets, or even crafting their own slime concoctions. These projects are simple, fun, and allow children to express their creativity.
How can parents encourage their kids to be more creative with their DIY projects?
Parents can spark their children’s creativity by providing a variety of materials to work with, setting up a designated DIY space, and letting kids brainstorm and come up with their own project ideas. By giving kids the freedom to explore and experiment, they’ll be more likely to unleash their inner artist.
What are some engaging DIY projects that can help kids learn new skills?
Kids can learn basic sewing techniques by making their own stuffed animals, practice measuring and following instructions by building a birdhouse, or even hone their woodworking skills by constructing a simple bench. These projects not only teach valuable skills, but also result in a fun and functional finished product.
How can kids turn their DIY projects into gifts for friends and family?
Kids can easily transform their DIY creations into thoughtful gifts by personalizing them with the recipient’s favorite colors or themes. Whether it’s handmade candles, painted flower pots, or custom photo frames, these gifts are sure to bring a smile to the faces of loved ones.
What are some budget-friendly DIY projects that kids can do without breaking the bank?
Kids can get creative with items found around the house, such as cardboard boxes, empty jars, and old magazines, to create one-of-a-kind masterpieces. Upcycling materials not only saves money, but also teaches kids the value of repurposing and recycling.
Let the Fun Begin!
So there you have it, folks! These DIY projects are sure to keep your little ones entertained and their creative juices flowing. From homemade slime to cardboard castles, the possibilities are endless. So grab your glue gun, unleash your inner artist, and get ready to have a blast with these fun and creative projects. Who knows, you might just discover a new passion for crafting along the way. Happy crafting!

